Analytical and Computer Cartography Geog 128 Spring 1999
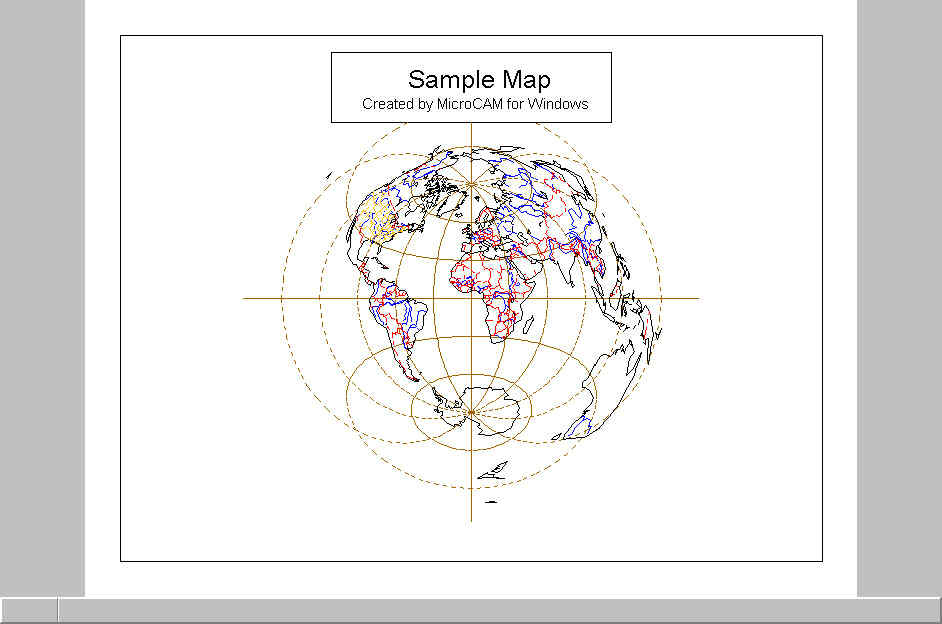
Lab Assignment: Create using the MicroCam program a mosaic of four
maps showing the continent of your choice in different projections at the
same scale. The minimum lines to be included in your MicroCam files are
the graticule, and the coastline of the continent. Other lines that may
be shown but are optional, include country boundary lines, and water features.
The MicroCam Files should be exported as AutoCad Export format files
(.DXF), and imported into Adobe Illustrator. Illustrator should be used
to layout the maps, and to add text and other details. Be sure your maps
contain the basic elements, neatline, title, scale, north arrow, your name
& date, legend if necessary ( you may wish to show the location of
major capitals for example), and the programs used to create the map.
The following are basic instructions to get you started:
MicroCAM is a shareware package, installed on the Microcomputers in
the Star Lab. If you want the software for your own PC, it can be downloaded
from the U.S. Military Academy. Information about downloading this and
other free map projection software can be found at http://everest.hunter.cuny.edu/mp/software.html
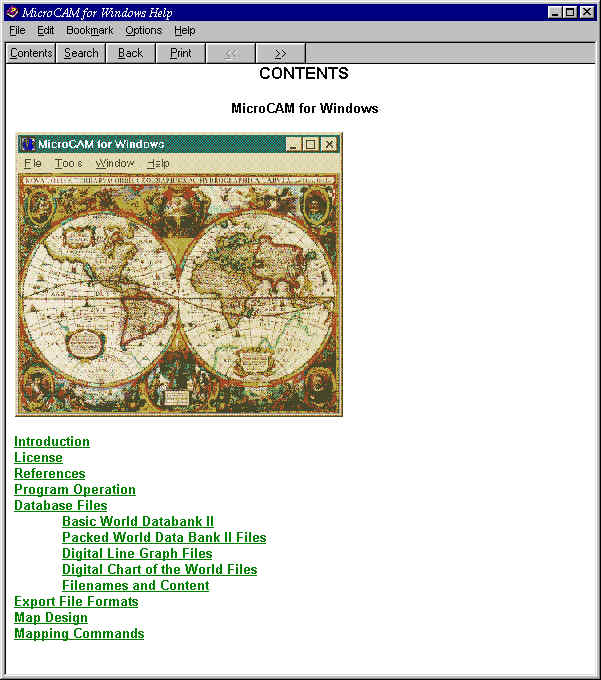
What is MicroCam?
MicroCAM for Windows is a microcomputer based program designed for use in the instruction of computer-assisted cartography. With MicroCAM, a student can experiment with more than twenty map projections and a wide variety of mapping parameters, all on an easily accessible microcomputer. It is an ideal tool for the cartography instructor, allowing for use both in a laboratory setting and in evaluation of student work. Originally modeled on the Cartographic Automatic Mapping (CAM) program, MicroCAM retains the basic features of CAM, a mainframe-hosted program, but adapts them for use on microcomputers. (The CAM program and its associated databases of the world were developed by the Central Intelligence Agency). Both MicroCAM and CAM are designed to generate reference maps of any region of the world to a users specifications.
Unlike the CAM program, which is batchmode oriented and provides output only to pen plotters, MicroCAM is interactive and its results are quickly displayed in high resolution video graphics on the microcomputers display. Under the Windows environment, MicroCAM can create hardcopy output on any installed printer or plotter. Maps can be exported as Windows bitmaps or in industry-standard exchange formats. Using external programs such as commercial computer-aided drafting programs, MicroCAM maps can be enhanced to create publication quality maps.
We have installed MicroCam under the main WindowsNT Start menu. Follow the instructions on the screen to log in, with your user name and password. You should change your password periodically to protect your account.
Notice on the start menu that there is information about some of the file formats as readme text files, and the MicroCam online help system. The same help system can be launched on demand when the software is running by finding the help pulldown menu. there is a searchable index, and a very handy automated guide for selecting a map projection. Spend a little time becoming familiar with the help utility, as this may pay off later. The Help system is hypertext based. The large buttons can be used to move forward and backward, or to leave bookmarks, just like in Netscape.
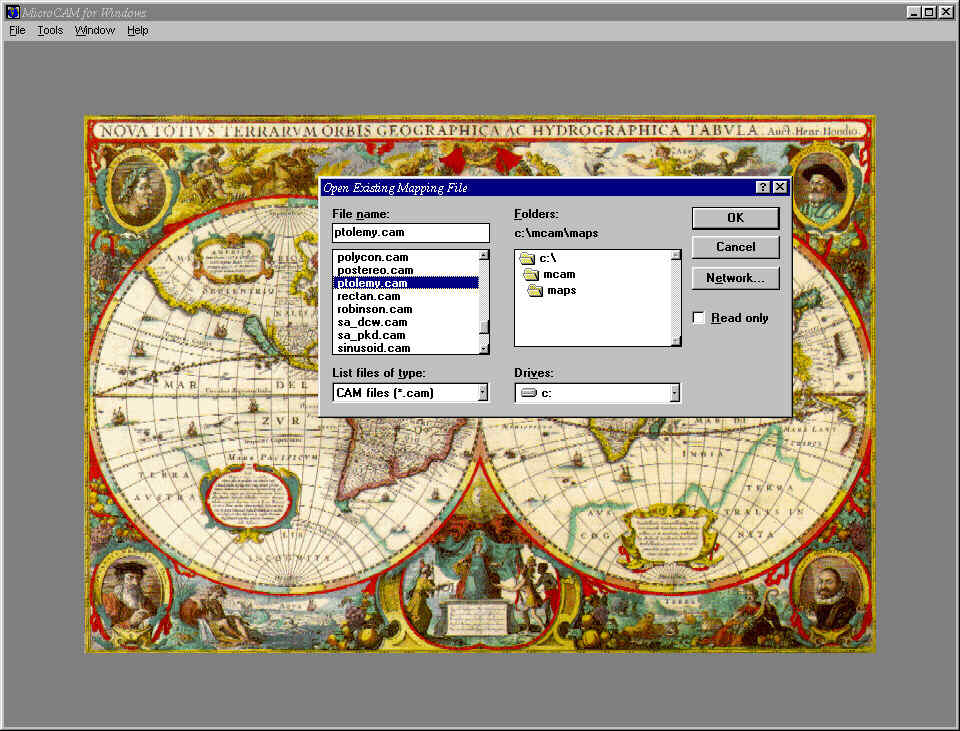
Notice the sample files contain some of the better known map projections, along with examples of special features. You should take a look at several of these one at a time to see the bredth of capability of MicroCam. A list of all the supported projections is in the Help system. To make MicroCam draw a map, go to the MAP menu and the DRAW function (or hit the F9 key). Note that almost any MicroCam features can be activated from the menus, from the icons at the top of the main window, or by using function keys. There will be delay pretty much directly proportional in length to the speed and RAM size of your PC. After this, the Map display window will display your map.
One way to save files on the local PC is to use the space at c:\temp\filename.dxf. Preferable is to save the files (the CAM and the DXF files) on your UNIX account. To do this, before getting into MicroCAM, open the MY COMPUTER icon, and from the toolbar (or with the VIEW -> TOOLBAR menu) open the icon called MAP NETWORK DRIVE (the icon is a file folder with a little starbust at the upper left). At the prompt for a drive, enter \\humdinger\myaccountname or \\thingamajig\myaccountname, where myaccountname is your account (e.g. lax128) and the slashes are backwards (the Windows way). You will be prompted for your login and password just once, the first time. This allows you to then go to the DRIVE part of the SAVE AS exchange and save directly to your UNIX account. Don't forget to disconnect the Network Drive when you log off, otherwise the next person will see your account on thier drive list.
Whan you have a map the way you want it, first SAVE AS the file under your own directory or on your own account. Don't overwrite the example files. Your fellow students will not appreciate it. When you have a map just right, plot it out. Select EXPORT MAP FILE from the FILE menu. This will allow you to save the map under a new file name as one of the many formats that Illustrator can import, namely the AutoCAD DXF format. So you should have saved the commands to MicroCam for your map (say in AFRICA.CAM, and a set of plots of the individual projections, say AFRICA1.DXF, AFRICA2.DXF etc.
Now the bad news. Adobe Illustrator is easily capable of reading AutoCAD
DXF files, but not version 5.5, which we have in the Descartes Lab. To
the rescue comes another PC-based package, CorelDraw. This software is
installed on the machines lab7 through lab10 in the Star Lab. Use the Programs
menu on the Start button to select Corel, and then CorelDraw. Corel looks
much like Illustrator, and has some of the same functionality, but for
now we will just use it as a pass through program. WHen the program launches,
it will create a blank new document, just like Illustrator. Select File->IMPORT,
and then move through the drives, files and directories until you have
the DXF file that MicroCAM created. The program should take a minute or
so, and then show the lines from MicroCAM on the page. WHen this happens,
go to FILE-> EXPORT, and save the file as a new file in Illustrator format
(.ai). You will be prompted for the version number. Be sure to use version
5.x. When you are done, you should have at least three versions of the
file, a CAM file that MicroCAM can use to recreate your map, a DXF transfer
file, and now an Adobe Illustrator (.AI) file. The latter should open correctly
in Illustrator in the Descartes lab.
The basic world database files provided with MicroCAM (COAST.PNT, ISLAND.PNT, LAKE.PNT, COUNTRY.PNT, STATE.PNT and RIVER.PNT) were derived from World Data Bank II created by the Central Intelligence Agency. Each file contains a category of features (i.e., coastlines) for the entire world. The original data were generalized to a level consistent with mapping at scales of 1:3,000,000 or smaller. The state database files (AK.PNT,...,WY.PNT) were derived from US Census Bureau (USCB) boundary files. The USCB files define each states perimeter boundary and its internal county boundaries. Both sets of database files were converted for microcomputer use and placed in the public domain by: Fred Pospeschil and Antonio Rivera of Micro Doc. Note that for other Geography classes, MicroCam has many "cooked" maps already to load and edit, for example state and national outlines, counties for every state, etc.
Use FTP to move the files from the PC to your UNIX account. FTP should
be on each PC. Login to the networked machine and move the DXF files only
over. You will then be ready for Illustrator. It is a good idea to place
all of the files for one assignment into a single directory, for example
Project1, Project2, etc. Note that by default, MicroCam staches plot files
in a subdirectory under the software directory called MAPS. Check C:\MICROCAM\MAPS
if you ca't seem to locate your plot. If you followed the steps above,
the files should already be on your unix account, and there is no need
to FTP the file.
Adobe Illustrtaor
On the Descrates lab UNIX workstations on the third floor of Ellison)
to run Illustrator at the unix prompt type illustrator. After
a (hopefully) brief wait, you should see the Illustrator window.
Select the FILE and OPEN options on the main menu
to bring the .ai files into the screen. Your file should open correctly,
and you are now ready to begin designing and laying out the map in Illustrator.
The maps will come into Illustrator one at a time. You may be asked
how you want the colors to map, just take defaults (this is Black and White
for now). Rather important to moving imported objects around is the concept
of grouping. The map will arrive as a group. SHould you unngroup it, remember
to group it back together again before moving it. The number of objects
in the group will be displayed at the top of the screen. Groups are highlighted
by handles at the corners, and can be moved, dragged, stretched, scaled,
rotated etc. Text can be placed using the icon with the letter on the tool
bar. You can enter a text string, then change the font, size, color, style
etc, and move the text into place. Be sure to allign your objects carefully.
Continue to edit the map until you are finished. You will find it easier to occasionally zoom in and out as you work on detail. You should also periodically plot the map, since it may appear a little different on paper. Your final product should be suitable for display. It should be free of factual and typographical errors, esthetically laid out and complete. Turn in the map to your TA by the due date (make sure it contains your name).
Estimated Time for Expert User: 4 hours. Novice: 8 hours.
K.Clarke 4/12/99